How to Set Up Zoho Mail with Your Own Domain (2026)
Set up Zoho Mail on your own domain: sign up, verify with a TXT record, add MX, SPF and DKIM records, create mailboxes, then test sending and receiving.

On this page
To set up Zoho Mail with your own domain, sign up for a Zoho Mail plan with your domain, add the TXT verification record Zoho gives you in your DNS, then replace the MX records with Zoho's, add Zoho's SPF and DKIM records, create your mailboxes and send a test both ways. Zoho shows the exact values for your account in its setup screens.
Time required: 30 to 45 minutes, plus time for DNS to update
What you'll need:
- A domain you own and login to its DNS (registrar, Hostinger, Cloudflare and so on)
- A phone number for the Zoho sign-up
- A list of the mailboxes you need, for example hello@ and accounts@
Comparing providers first? Read business email options for small businesses.
Step 1: Sign up with your domain
Where: zoho.com/mail > Pricing > choose a plan
- Choose a business email plan and pick the option to use a domain you already own.
- Enter
yourdomain.com, your name and phone, and create the account. - Pick the data centre closest to your customers if asked (for example India or Europe).
Check current plan features and limits on Zoho's pricing page before choosing; they change from time to time.
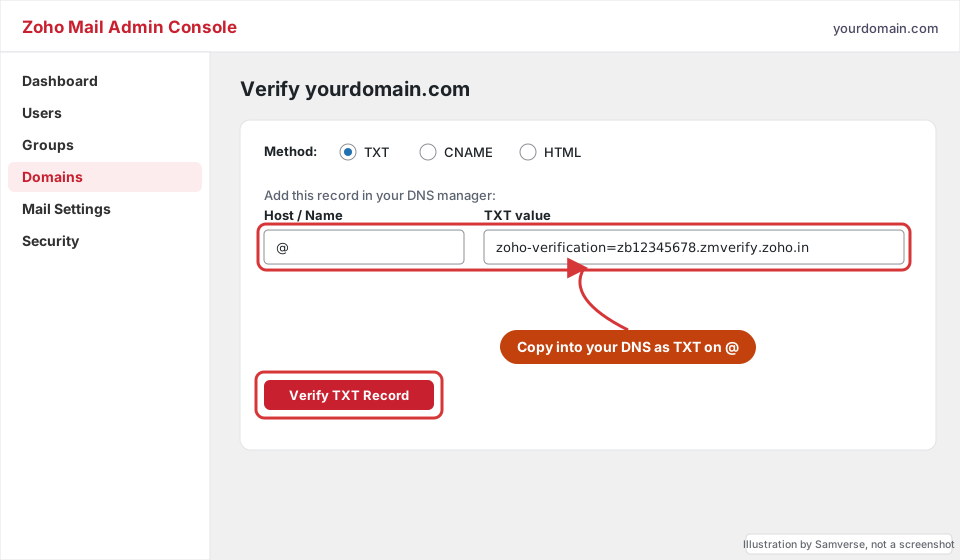
Step 2: Verify the domain with a TXT record
Where: Zoho Mail Admin Console > Domains > Verify, and your DNS manager
- Zoho shows a TXT value starting with
zoho-verification=. Copy it. - In your DNS manager add a TXT record with host
@and that value. - Back in Zoho, click Verify TXT Record. Retry after 15 to 30 minutes if it is not found yet.
Step 3: Create your mailboxes
Where: Admin Console > Users > Add user
Create each person's mailbox, for example hello@yourdomain.com, and set up group addresses (such as sales@ delivered to two people) under Groups. Set strong passwords and turn on two-factor sign-in.
Step 4: Point the MX records to Zoho
Where: Your DNS manager > MX records
- Delete the existing MX records (from your host or old email provider). Take a screenshot first.
- Add the three MX records Zoho lists for your data centre, with the priorities shown (for example
mx.zoho.in,mx2.zoho.in,mx3.zoho.infor India). - Save, then click Verify MX in Zoho's setup.
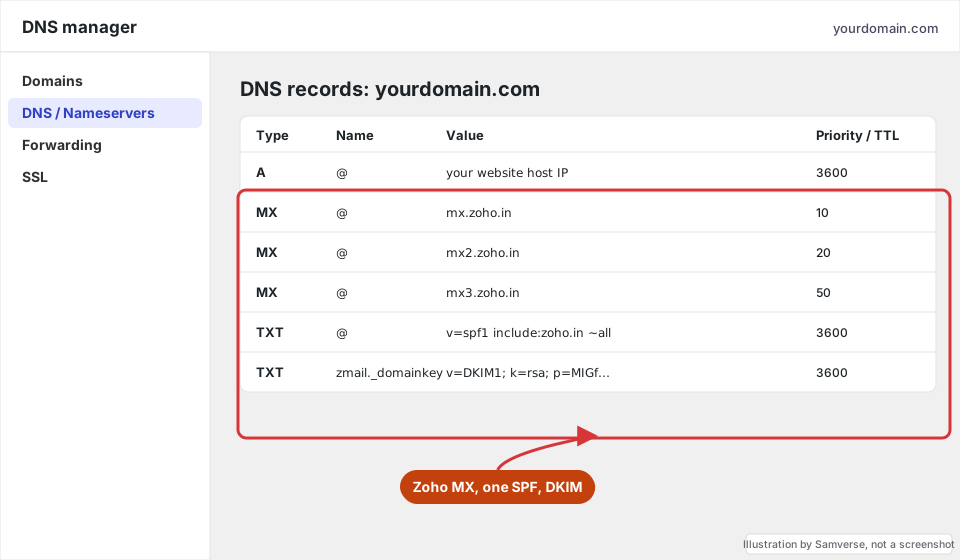
New mail starts arriving at Zoho once DNS updates. Leave the old mailboxes open for a few days to collect stragglers.
Step 5: Add SPF, DKIM and DMARC
Where: Admin Console > Domains > Email configuration
- SPF: one TXT record on
@, such asv=spf1 include:zoho.in ~all(use the include Zoho shows). If an SPF record already exists, merge the includes into one record; never have two. - DKIM: in Zoho, add a selector, copy the TXT host (like
zmail._domainkey) and value into DNS, then click Verify. - DMARC: add a TXT on
_dmarcsuch asv=DMARC1; p=none; rua=mailto:hello@yourdomain.comto start monitoring.
Why these matter is explained in SPF, DKIM and DMARC for business email.
Step 6: Test, then connect your phone and website
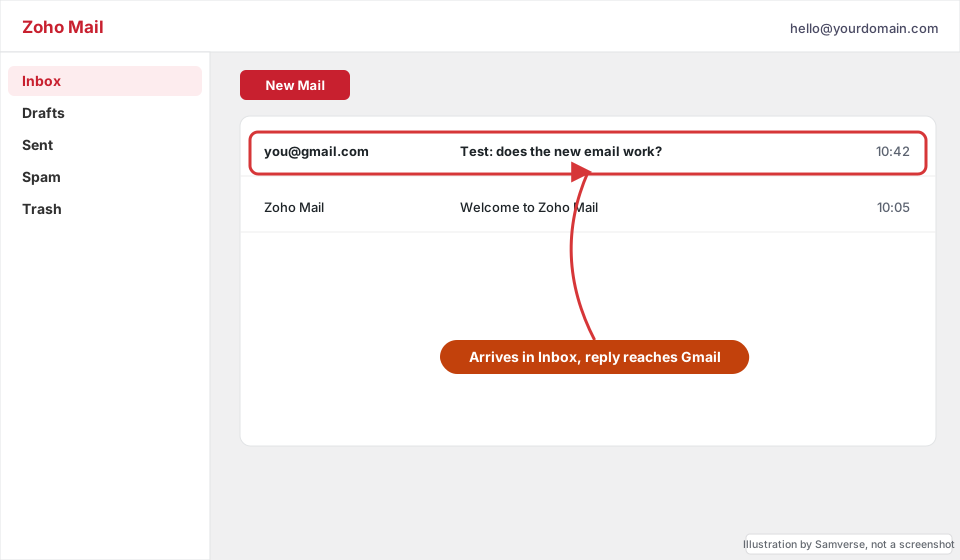
- Send from Gmail to your new address and reply. Check the reply lands in the inbox, not spam.
- Install the Zoho Mail app on phones, or add the account to Outlook with Zoho's IMAP/SMTP settings.
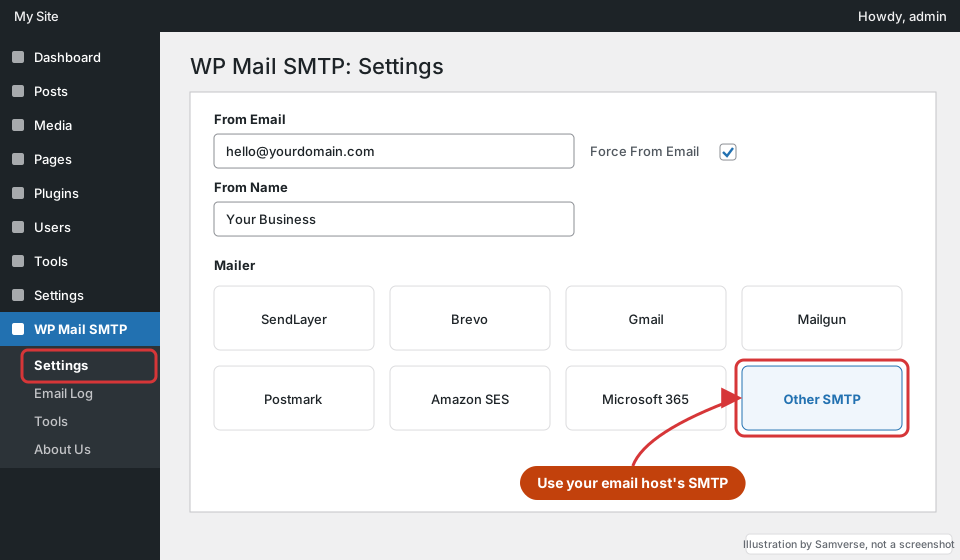
- Point your website's form emails at the new mailbox through SMTP; see how to set up SMTP in WordPress.
Troubleshooting
- Mail still goes to the old provider: an old MX record is still present, or DNS is managed elsewhere (check nameservers, for example Cloudflare).
- Sent mail lands in spam: DKIM not verified, or two SPF records. Fix to one SPF record.
- Website broke after editing DNS: an A or CNAME record was changed by mistake. Restore it from your screenshot.
- Wrong data centre values: zoho.com, zoho.in and zoho.eu use different hostnames. Use the ones in your own Admin Console.
FAQs
Will setting up Zoho Mail affect my website?
No, as long as you only add TXT records and change MX records. The website runs on A and CNAME records, which stay as they are.
Can I keep my old emails when moving to Zoho?
Yes. Zoho has a migration tool in the Admin Console that imports mail from IMAP accounts such as your hosting email or Gmail.
Do I need a separate domain for Zoho Mail?
No. Use the same domain as your website so addresses read hello@yourdomain.com.
Stuck on a step?
Tell me where you got stuck and I'll reply with a plan and a fixed quote, usually within 24 hours.